
Open Chainpipe
A hole in the boat? Well, sometimes they are needed. This one is where the anchor chain drops down through the deck into the chain locker through the “chainpipe”. A simple system, and one that mostly works well. The windlass pulls in the chain, the chain falls off the back of the “gypsy” and piles neatly in the chain locker.

Standard Chainpipe Cover
Of course, it has a cover to keep water out. In most conditions the standard chainpipe cap that I have works well. It keeps out splashes and rain. The theory here is that the weight of the chain hanging from a hook on the cover keeps it in place, and the remaining gaps are small enough they let only minimal water in.
But…. When driving the boat hard into the wind, with waves crashing on the deck sending a foot of green water surging across the boat the existing cover just isn’t up to the task. In fact water pours into the chain locker, like somebody turned on a hose. It then runs down the length of the boat and gets pumped overboard by the main bilge pump. This violates the first rule of sailing: Keep the water out of the boat.
I have seen a couple of ways described to stem the flow of water through this fitting of varying degrees of sophistication and elegance. One that I suspect works at least some of the time, but lacks any elegance at all is to stuff the chainpipe with a rag. Half a step up from this is to take a large handful of non-hardening oil-based modeling clay and use that to fill the hole while underway, then remove it when it is time to anchor.
One internet forum suggestion was to seal the hole with cement (?!) when you head offshore, then break out the brittle cement when it is time to use the anchor. Really? This just goes to prove that advice on the internet is worth exactly what you pay for it. Just to start, does this guy really carry a bag of cement around on his boat? How long does THAT last without going hard in the humidity of a boat???
One of the classic sailing authors (which one I forget at the moment) suggests carving a plug out of two pieces of teak to fit in the hole and around the chain. That seems like a better idea, certainly elegant, but quite a fussy and time-consuming project. If you have ever tried to carve teakwood you’ll know what I mean!
Putting together a couple of these ideas, I have an approach that I am trying for Fetchin’ Ketch. I am going to cast a plug of silicon rubber to fit. A reasonable form of silicon rubber is available from art supply houses for making molds. Keeping it in place while it

Modeling clay mold.
cures is a good job for modeling clay, also from the local art supply store. So here goes the project…
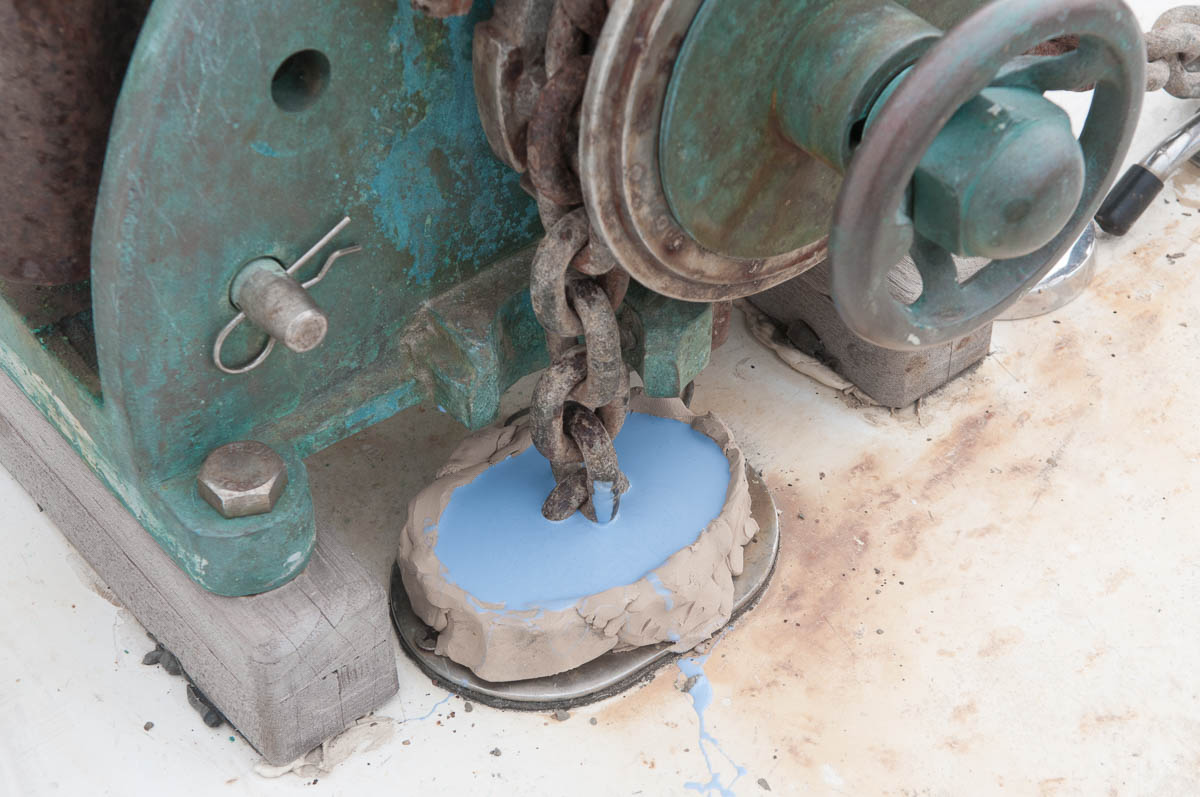
First I used modeling clay to seal the bottom of the chainpipe and around the chain. I created a little lip above the edge of the chainpipe so the cast plug would have a little rim to help hold it in place. You have to be sure you use the right kind of clay, since many of them contain sulfur which inhibits the cure of the silicon rubber.
Initial pour of casting rubber.
Once I was happy with the shape of the mold, I mixed the two-part silicon rubber casting compound. It is a 50-50 mix of two parts. One looks like blueberry yogurt, the other like strawberry. I poured the mixture into the mold until full, and then waited overnight for it to completely cure.
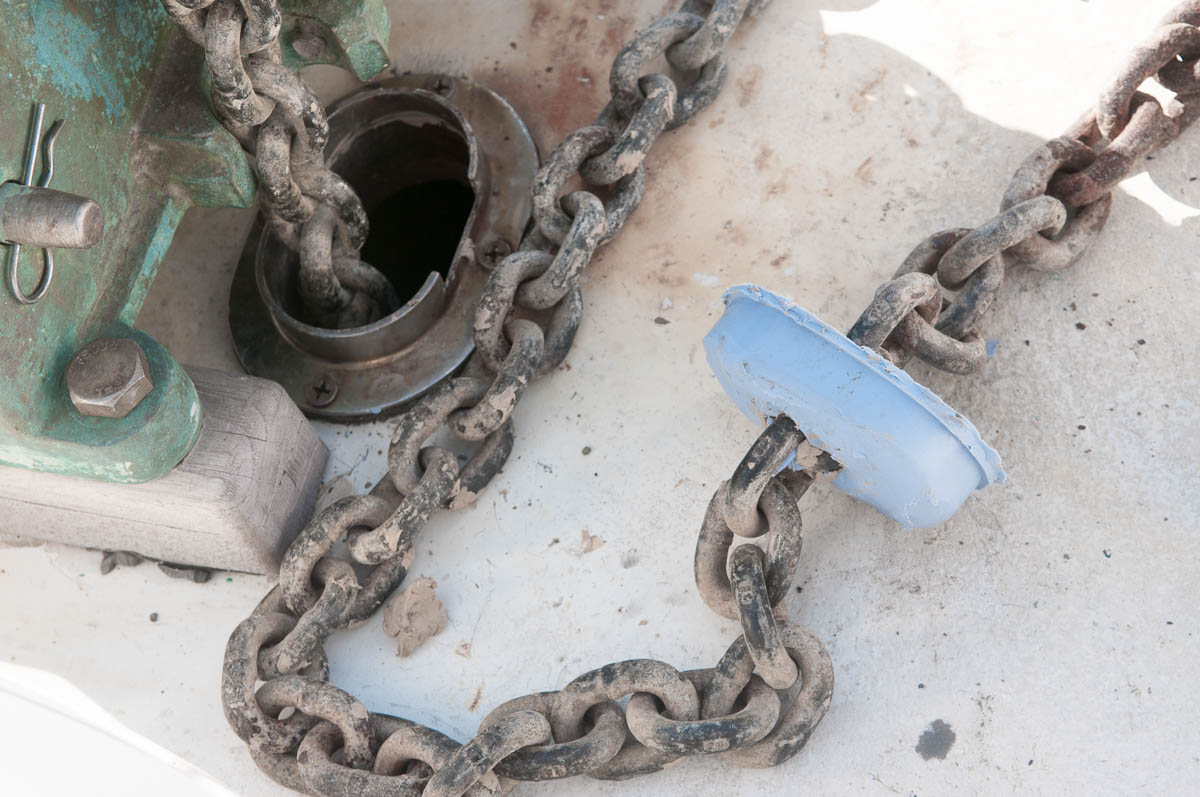
Cured plug extracted from chainpipe.
Once cured, I pulled out the silicon rubber plug, and with a very sharp knife, carefully cut it in half around the anchor chain, and cleaned up the remaining modeling clay. Ta-Da! A perfectly fitting plug that stays in place and takes only a moment to install and remove.
It might not be a perfect water tight seal, but it is certainly better than a rag, and way easier than cementing the chainpipe closed every time we head offshore!
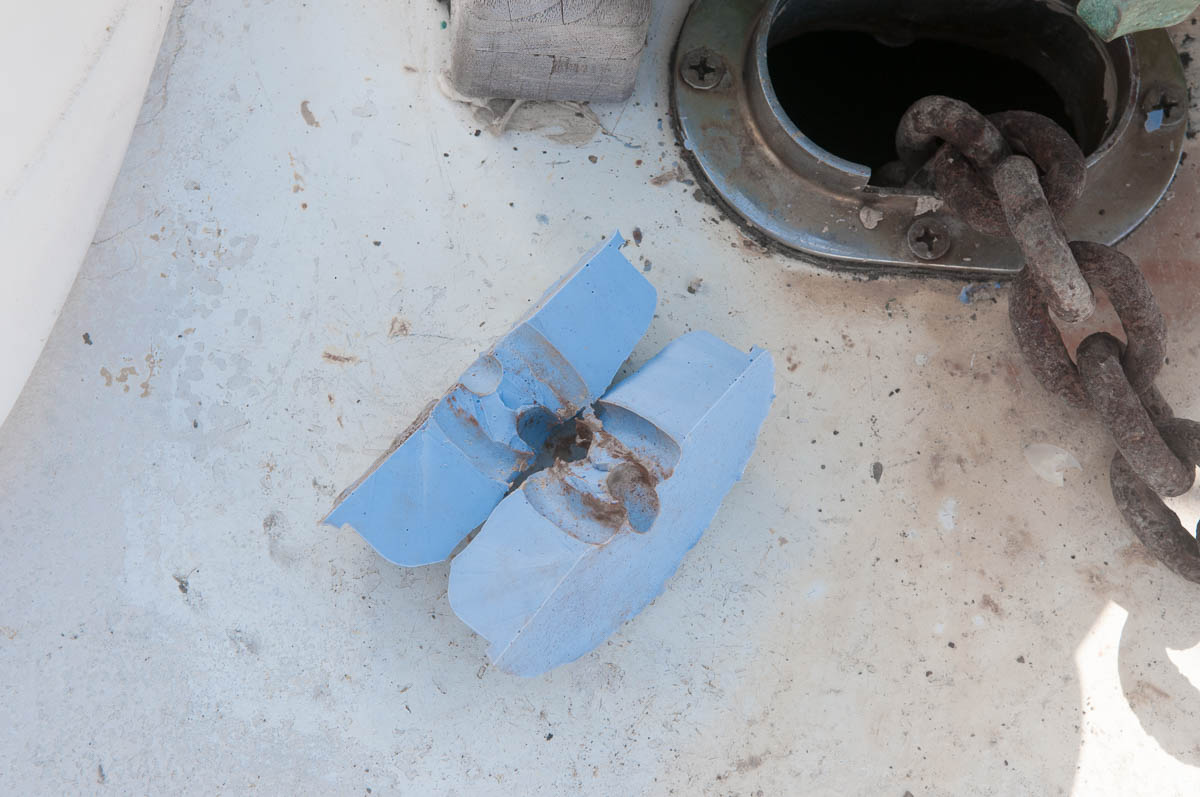
Plug cut in half and trimmed with the chain molded into the center.
The final result is not quite as hard a rubber as I would have liked, but it seems like it will be reasonably durable. Now that I know the fabrication process works and is pretty straightforward, if I find a tougher casting rubber It will be easy to redo.

The two piece plug reinstalled ready for sea.

re the cement idea – in the days when your focsle crew included the bosun, carpenter and four ‘hands’ the pipe was stuffed with rags and a quick-setting cement topping really did do the job.
LikeLike
Very clever!
LikeLiked by 1 person
Thanks! Before deciding on the ultimate level of cleverness I’ll wait to see how it performs in the next big blow!
LikeLike
Bill,
Yours is the best idea I’ve seen. I always used silicon and just pitched it out when anchoring. Keep up the good reports.
Curt
LikeLiked by 1 person
I have actually thought about using silicone sealant to make the plug. It seems to be tougher than the molding compound I used, but it isn’t nearly as “pourable” and would take a lot more effort to get a good molded form. Maybe that’s what I’ll try for “Version 2.0” if it is needed…
LikeLike